
Using basic composition techniques to level up your photos is a crucial skill every photographer needs to know.
Composition influences how viewers perceive and connect with your images.
It goes beyond technical skills and equipment—it’s about how elements within a photograph interact with each other. Think about negative space, trees, skylines, fences, buildings, any environmental element, and how it adds to or takes away from the subject in your images. What if you could use all these things to tell a greater story within your images? Pretty cool right?
Understanding a few basic composition principles will elevate your photographs, drawing people in and making them more memorable. It’s the wow factor that most photographers forget about using! Whether you’re a seasoned pro or new to fine art photography, check out my favorite three composition techniques to better capture the storytelling images we all love.
Composition Tip #1 | The Rule of Thirds
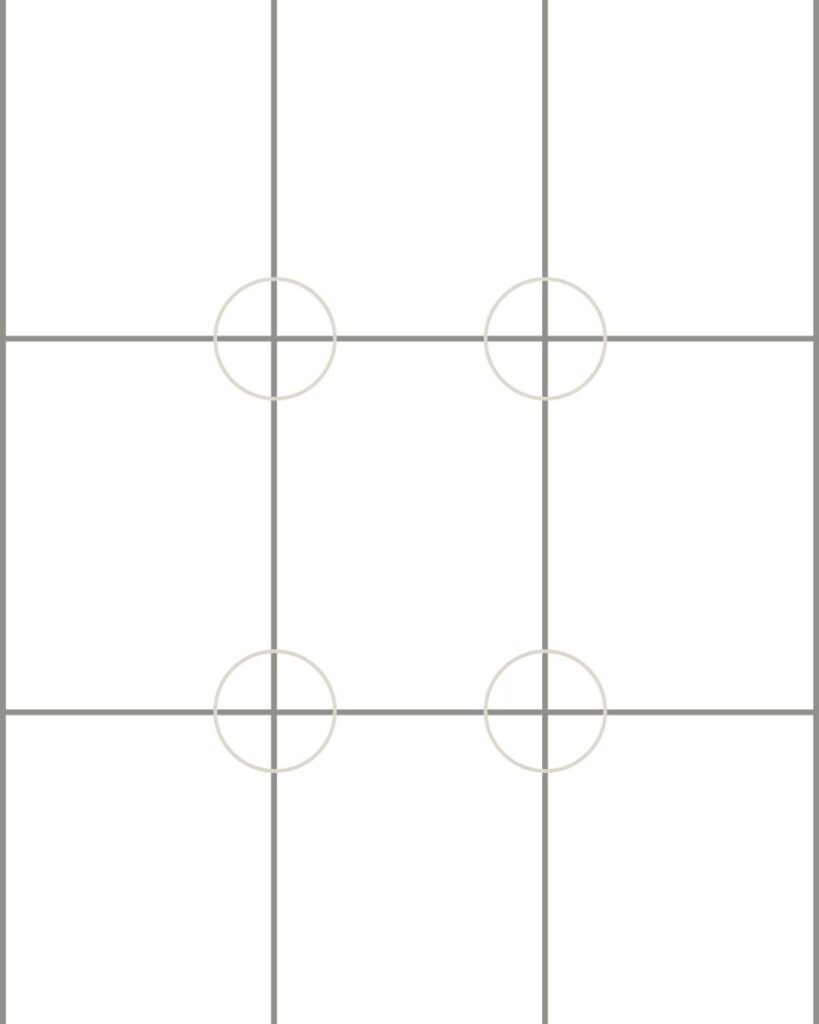
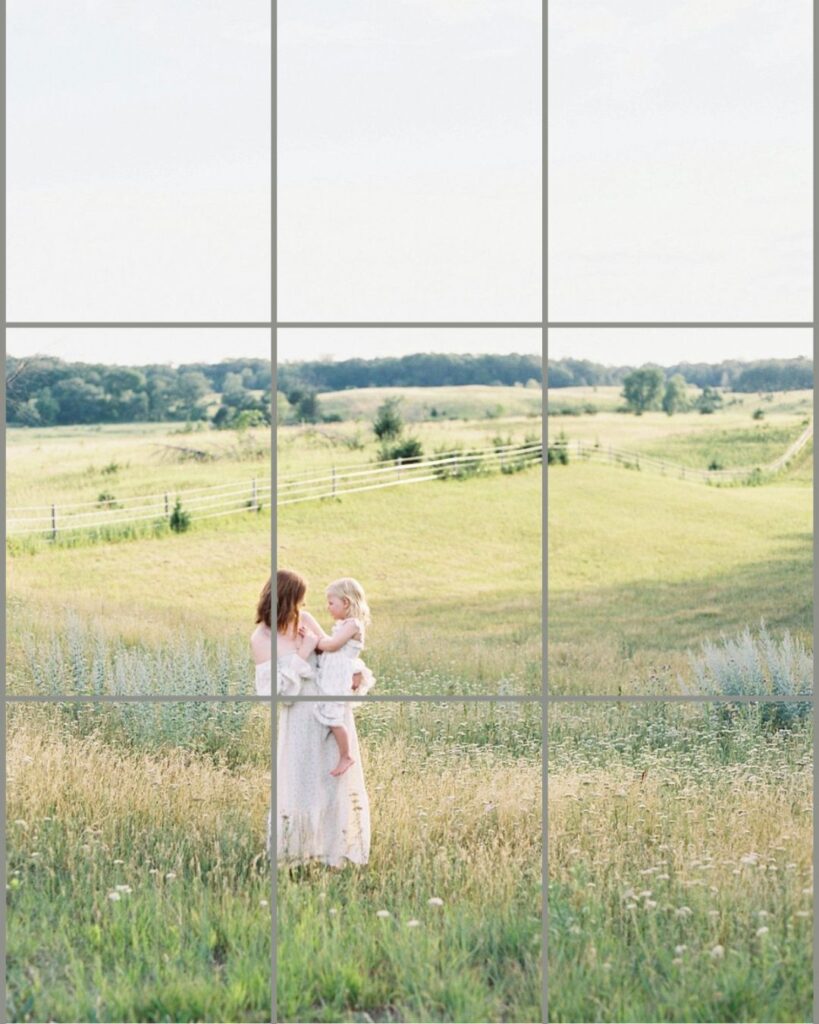
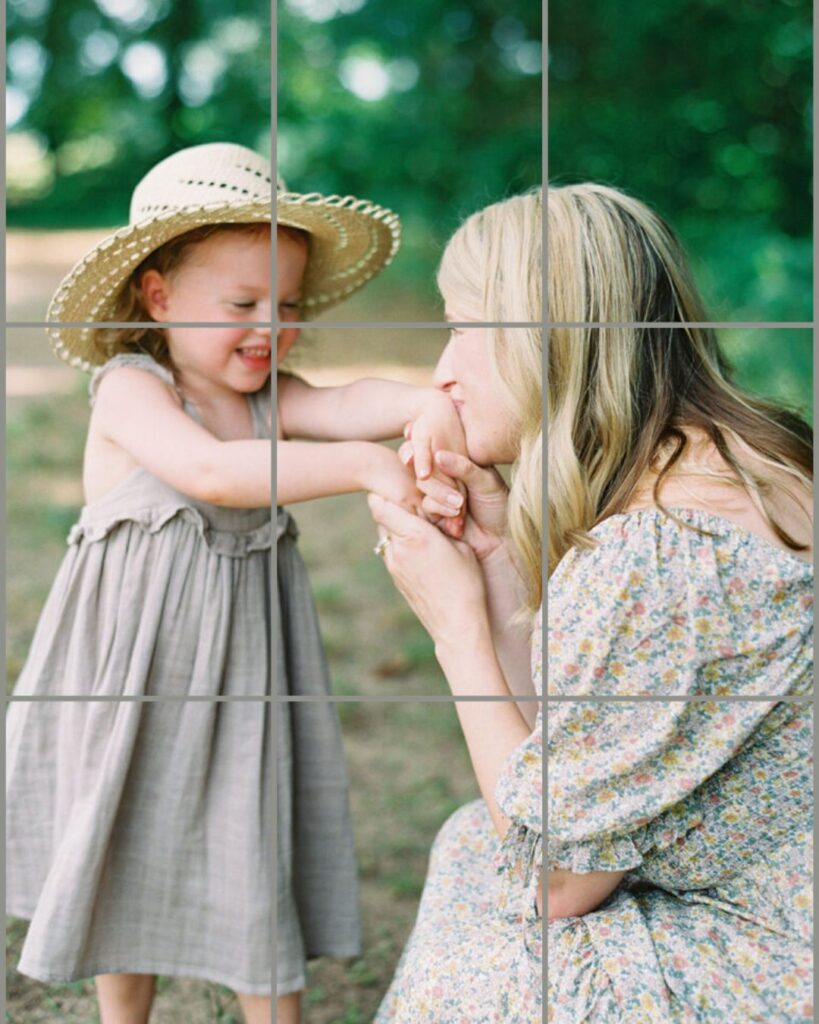
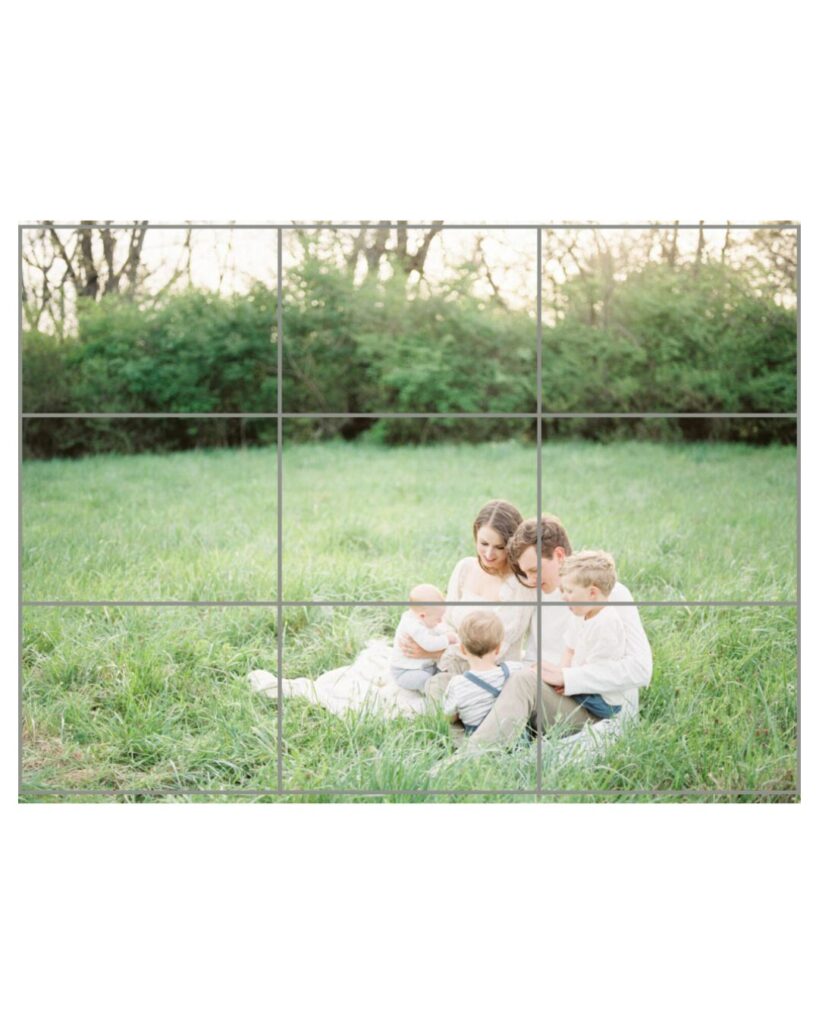
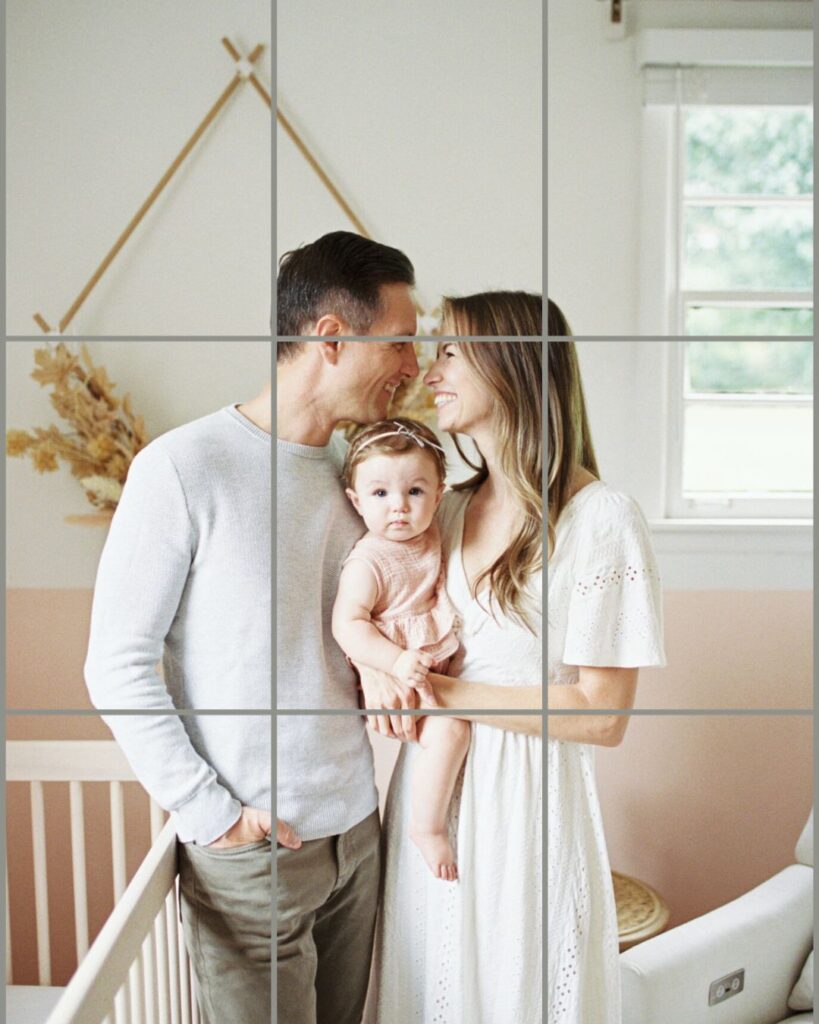
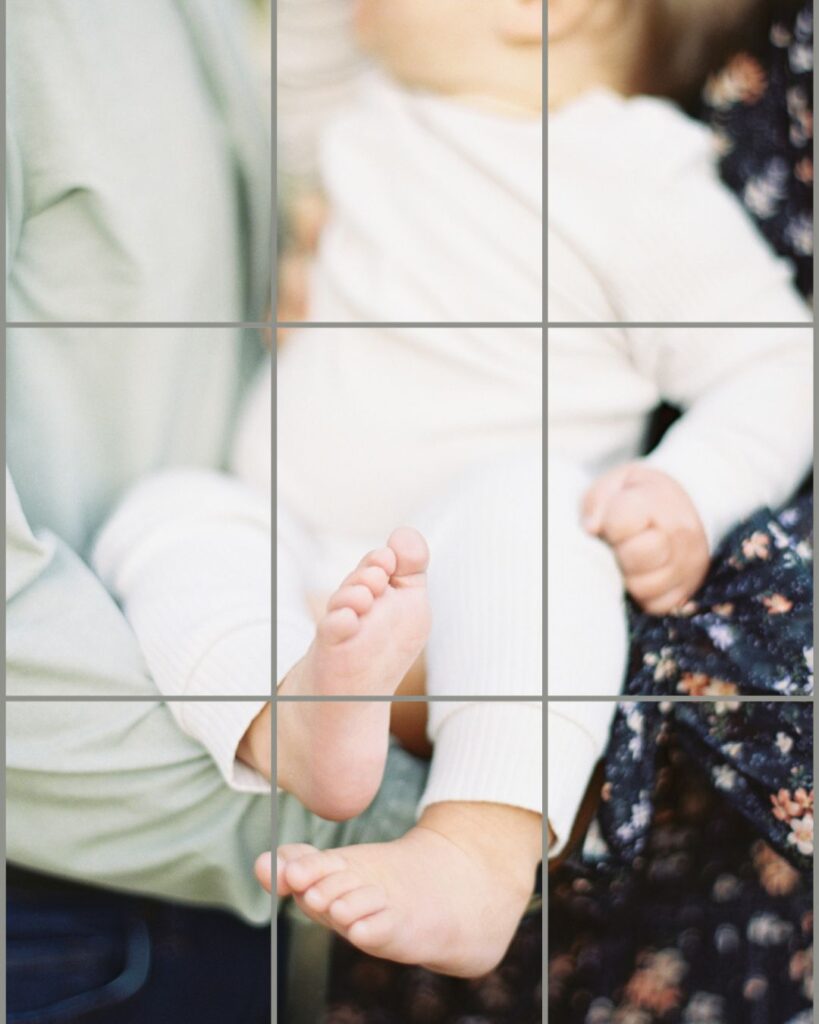
Imagine overlaying a tic-tac-toe grid on your camera’s viewfinder or screen, creating nine equally sized rectangles. This grid helps you visualize where to position important elements within the frame. (i.e.- your subject!)
By aligning subjects or points of interest with the gridlines or their intersections, you can give a sense of balance and harmony to your images. It’s going beyond the traditional center-punch to make the photo more dynamic and engaging.
Don’t get me wrong, we need centered images, just like we need smiling at the camera photos. But we have to be able to break out of that in order to create a strong gallery that serves our clients, and our creativity, well.
Pro Tip: Turn on the grid in your viewfinder to make using the rule of thirds easier than ever! Place subjects or points of interest at the cross points when possible for maximum effect.

Examples of How to use the rule of thirds
Composition Tip #2 | Leading Lines
Leading lines serve as visual pathways that lead the viewer’s eye from one part of the photograph to another. Think of a bridge, fence, tree line, sidewalk or river pointing the viewer in the direction of the subject. This gives a sense of direction and flow while adding depth.
Using leading lines physically draws the viewer into the photo, making them feel instantly connected to the subject. How cool is that!?
Tips on how to use leading lines in photography
- Look for natural or man-made elements that create linear patterns or directionality.
- Position yourself so that the lines lead toward your subject or the main point of interest.

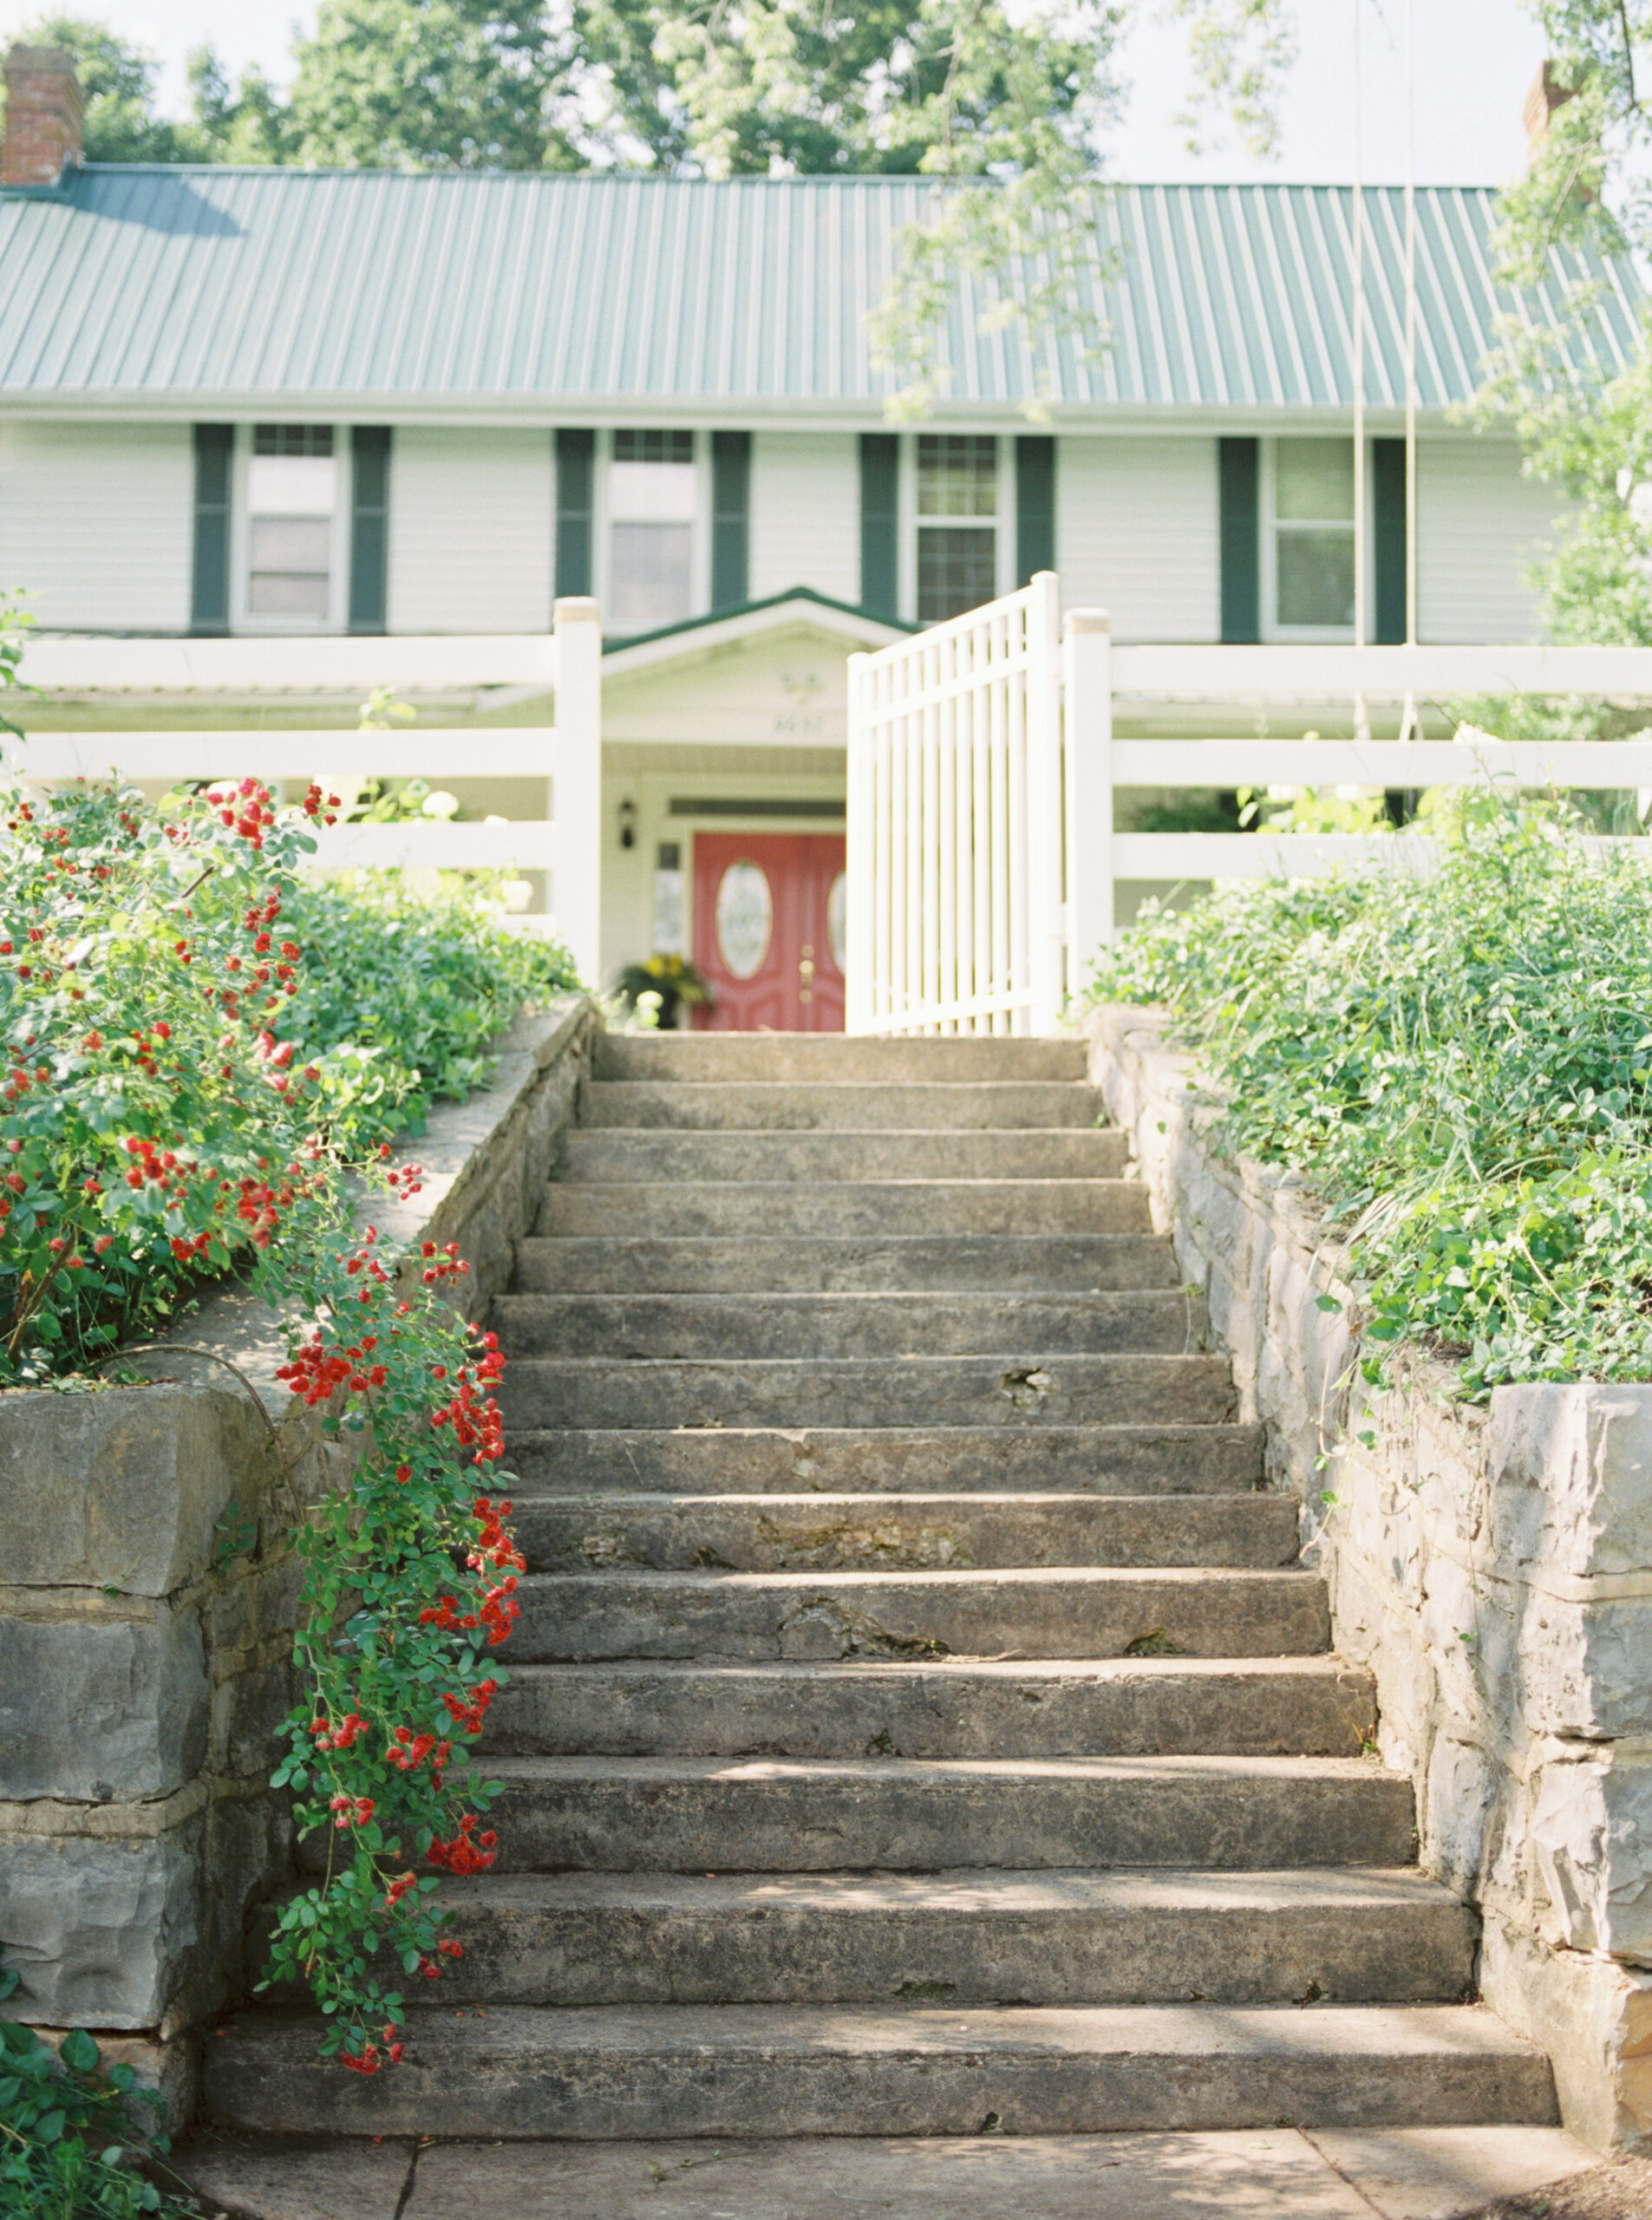
Notice how the stairs direct you to the open gate like a warm invitation. Welcoming the viewer into this families home and story!
Composition Tip # 3 | Framing
Like leading lines use elements to point to a subject, framing uses elements within the image, such as natural or man-made objects, to surround or enclose the main subject. Think of a visual border right there in the photo.
Notice how the trees form a natural arch to frame the subject while the leading lines on the path point right to them.
Examples of Natural Frames:
- Doorways: A doorframe can frame a subject standing in a doorway, or beyond it. Adding a sense of intrigue and context.
- Windows: A window frame can be used to frame a scenic view outside, creating a contrast between the indoor and outdoor elements or shoot from outside in to tell an entirely different story!
- Arches: An architectural arch can serve as a graceful frame for a subject or a distant landscape, lending an element of whimsey and romance.
5 Tips on Recognizing and Composing with Frames:
- Observation: Train your eye to recognize potential framing elements in your surroundings. Look for objects with distinct shapes or structures that can naturally frame your subject.
- Foreground vs. Background: Consider the relationship between the framed subject and the foreground and background elements. You want the frame to enhance the overall composition. A person in front of a doorway verses deep in the room tells a totally different story. By shooting through the doorway it gives the feeling of peeking in on a moment and I love these for lifestyle indoor sessions!
- Experiment with Angles: Try different angles and perspectives to maximize the impact of the frame. Shoot from low angles, high angles, or even through the frame itself.
- Balance: Maintain a balance between the framed subject and the framing element. The frame should enhance the composition without overwhelming it. You don’t want a window frame taking up so much space that you can hardly see the subject.
- Depth of Field: Use an appropriate aperture setting to control the depth of field. A wide aperture (low f-stop) can create a shallow depth of field, blurring the background and emphasizing the subject within the frame.
Photography is an art that thrives on practice and experimentation. Take one of these principles and incorporate it into your next session. But don’t feel like you have to master using composition in one day. Bookmark this to come back to and with a little bit of consistent practice you won’t believe how far you’ve come.
Experiment with different scenarios, subjects, and settings to fully grasp the potential of each principle. In other words, you have permission to play! Never forget you are an artist with incredible vision and potential. Now get out there and start shooting!


